
A stop motion animation, using a self-created claymation character I bestowed as Yuri. The general concept was the universal stress walk us, humans, do when frustrated or in need of ‘fresh air’. This walk wasn’t helping.
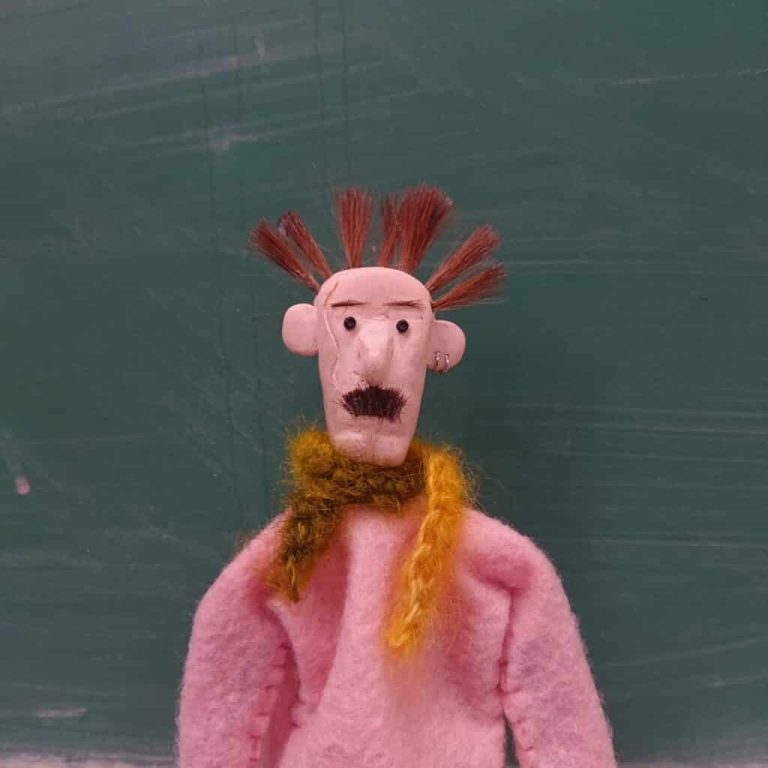
Yuri is a dude who’s edgy on the surface, but sensitive on the inside. He was hand-made, by yours truly, and magically oven-baked to life with the help of a little technology and a heck-of-alot of images. The stop motion process consisted of over 250 individual images I took using a handy app that I sadly forget the name to. I set up a basic green screen backdrop when shooting, and uploaded all content to Premiere Pro. Sound design was a collection of sourced files, edited together to create diegetic sound and atmospheric noises.
STEP 1 : CREATING YURI
The creation of my claymation character—Yuri—was one I had been eager to try out. Stop motion, specifically claymation film, has been one of my top favourtite genres since I was a child. Yes, I am talking about Tim Burton’s Coraline and friends.
To create Yuri was a simple and straightforward process. I used:
I began by molding the desired shape of the head—including the nose and ears—and dimpling small holes with a sharp tool around the scalp for the hair as well as a scar to add character. After he was done baking, I painted his skin tone and glued on his eyes, hair, eyebrows, moustache and earrings.
STEP 2 : FILMING
My main goal for this film was to exercise a standard of fluidity. By this I mean, I wanted Yuri to be believable.
The set up was a simple green screen backdrop and table with my camera mounted on a tri-pod a few metres away from the figure itself. I also set-up studio lighting with a more traditional technique, which did cause issues later on. I used an app (which one, i do not know) and set up my parameters to auto-capture an image every 20 seconds or so. This meant I had about 10–12 seconds to rearrange Yuri into his next pose without being in the way and casting shadows or getting a limp caught in the file.
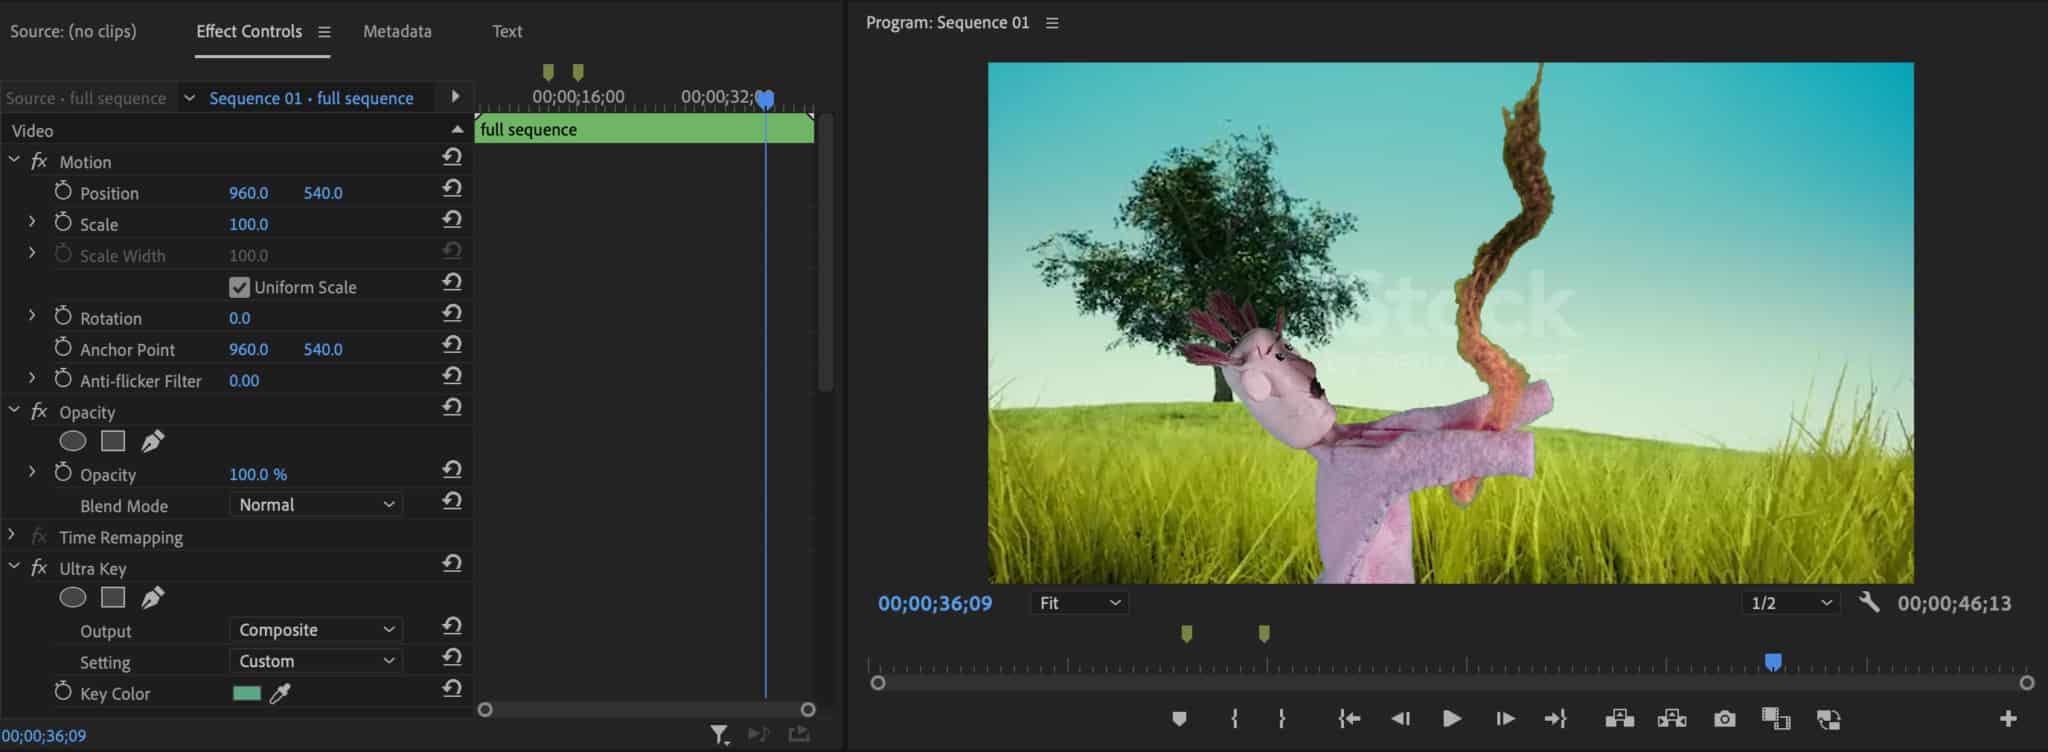
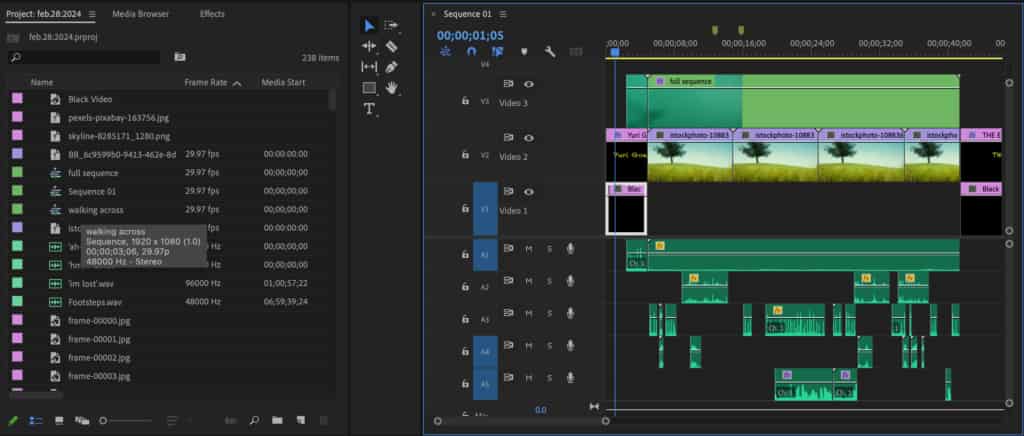
STEP 3 : EDITING
Back to the bat-cave. I uploaded my 250 sum file into Premiere Pro and had a mild anxiety attack as anyone would. But, once I dove into the full throttle editing engine, I soon realized that working with stills is very approachable.
Here’s what I did:
All my sounds used were found, resulting in a lot of time invested towards editing the different tones and inconsistencies to sound less….well…found. Vocal enhancers and gain were a good friend to me here.